Author Topic: The Oily Shop Project  (Read 112072 times)

0 Members and 7 Guests are viewing this topic.

Offline OilyRascal

  • Contributor
  • Hero Member
  • *****
  • Posts: 2282
    • Facebook Profile
Re: The Oily Shop Project
« Reply #270 on: December 08, 2012, 09:23:33 PM »

An update here.  I was tinkering around today in the shop and had a visit from my father.  He see's this thing on the counter, and ask "where in the hell did you find that?".  I traded a story of where I found it with his story of what it was, and where it come from.

My father made this while in high-school so he would have a way to press bushings in/out in his work with his father at the shop.  He says he fabricated 100% of it with scrap/tools in his vocational class.  It was long replaced with the monster size shop press.  My father has no interest in it.  Says there are pieces missing he had milled for various size bushings.  I'll likely clean it up and have it rest on a shelf in the shop.....or bring it home to sit on a shelf here.  Father says he likely still has some formal award on paper where he was recognized for making it.

Any thoughts on this?  No markings, and smells "homemade" to me (but very well done if it is).  I have no idea on it's intended use.  Would you call this a vise, clamp, or arbor?


"FORGED IN THE USA" myself.  Be good to your tools!

Garden and Yard Rustfinder Extraordinaire!
http://www.papawswrench.com/vboard/index.php?topic=3717

Offline Papaw

  • Owner/Administrator
  • Administrator
  • Hero Member
  • *****
  • Posts: 11221
  • Alvin, Texas
    • Papawswrench
Re: The Oily Shop Project
« Reply #271 on: December 08, 2012, 09:43:31 PM »
Very cool that he made it so long ago, and you have it now!
Member of PHARTS - Perfect Handle Admiration, Restoration and Torturing Society
 
 Flickr page- https://www.flickr.com/photos/nhankamer/

Offline oldtools

  • Hero Member
  • *****
  • Posts: 1424
  • Keep OldTools alive by giving them a purpose
Re: The Oily Shop Project
« Reply #272 on: December 09, 2012, 08:56:13 PM »
Nice press, good work!
Aloha!  the OldTool guy
Master Monkey Wrench Scaler

Offline OilyRascal

  • Contributor
  • Hero Member
  • *****
  • Posts: 2282
    • Facebook Profile
Re: The Oily Shop Project
« Reply #273 on: December 09, 2012, 10:30:12 PM »
Today I stumbled across a pile of hacksaws I had put to the side during cleanup.  Managed to scrape enough layers of crude off to decide which I'd try to clean further.  Found several quality brands; Millers, Wards Master Quality, Nicholson, and my favorite (handleless).  I should be able to share pictures of them clean in the next few days.

The 4'x8' shop work table made of 7/8" "sucker rod" frame and wood top was finally given attention today.  Cleaned, sanded, painted, and awaiting a new treated lumber top tomorrow.  Nice to have this table back in service.  4x8 workspace already proving handy laying out parts working on chainsaws today. 

The  McCulloch 250 I found fired today long enough to run off the gasoline I had poured in the exhaust.  Good compression.  Not shocked I'm having a fuel delivery problem.  Working on carb. kit for that.  Need muffler and apparently not hard to find - super loud in shop as is.

Need one of those older 9/16" chain saw socket/screwdriver/sparkplug combo wrench if anybody has one.  I have a couple, but none with the 9/16" bar nut size.

Not sure I need another chainsaw anymore than I need another pipe wrench.  Just can't let go of such things.

"FORGED IN THE USA" myself.  Be good to your tools!

Garden and Yard Rustfinder Extraordinaire!
http://www.papawswrench.com/vboard/index.php?topic=3717

Offline john k

  • Contributor
  • Hero Member
  • ***
  • Posts: 2657
Re: The Oily Shop Project
« Reply #274 on: December 10, 2012, 03:22:16 PM »
That little press of your dads looks darn well made.   Something that size would always have a use in a shop. 
Member of PHARTS - Perfect Handle Admiration, Restoration and Torturing Society

Offline OilyRascal

  • Contributor
  • Hero Member
  • *****
  • Posts: 2282
    • Facebook Profile
Re: The Oily Shop Project
« Reply #275 on: December 20, 2012, 04:36:40 PM »
This Wilton is back in service at the shop.  I found it mounted on the rear of a 1-ton flat-bed.  It was improperly installed and abused in use.  It was mounted by two bolts at the base; therefore the hair-line crack.  Cutting torch across the jaw, etc. etc.  It's had a hard life but when it gets right down to it is still VERY usable vise.  Both sets of jaws look good on the face.  I decided it would serve well working in the shop (and frankly its just to big, and a bit ugly, for the '65 truck).  I was not going for a show room restoration.  I was aiming to take it down, clean it up, paint it, and put it back in service - FAST.

"FORGED IN THE USA" myself.  Be good to your tools!

Garden and Yard Rustfinder Extraordinaire!
http://www.papawswrench.com/vboard/index.php?topic=3717

Offline 1930

  • Contributor
  • Hero Member
  • *****
  • Posts: 2141
Re: The Oily Shop Project
« Reply #276 on: December 20, 2012, 06:54:10 PM »
I like the color you have chosen
Always looking for what interests me, anything early Dodge Brothers/Graham Brothers trucks ( pre 1932 or so ) and slant six / Super six parts.

Offline Dakota Woodworker

  • Sr. Member
  • ****
  • Posts: 149
Re: The Oily Shop Project
« Reply #277 on: December 20, 2012, 06:57:22 PM »
It's going to be a good work vise. Better on the bench than the back of your truck.  How's that old Ford coming along anyway?
Current Dakota Auction Champion

Offline Branson

  • Hero Member
  • *****
  • Posts: 3643
Re: The Oily Shop Project
« Reply #278 on: December 21, 2012, 09:37:52 AM »
It's always good to see a great old tool returned to service!

Offline OilyRascal

  • Contributor
  • Hero Member
  • *****
  • Posts: 2282
    • Facebook Profile
Re: The Oily Shop Project
« Reply #279 on: December 21, 2012, 05:31:47 PM »
Found this tool left behind in one of the rental properties when a tenant vacated.  It's no wrench, but I figured it'd be handy to have around in the shop.  Cold this morning at about 25 f. so I started a fire in the belly stove gramps made.


and it just kept getting hotter.


.............How's that old Ford coming along anyway?

My attention was diverted away from the '66 to the '65 "parts truck" for a bit.  Turned out the '65 wasn't a parts truck after all.  The '66 sits in the shop, gets a body panel or component pulled every couple days..... disassembling to the frame.  Had planned to run the 352 as it was, given its condition, but having second thoughts there thinking about going ahead and doing the rebuild with a little more HP.  Long term, I want to drive the '66 daily.
"FORGED IN THE USA" myself.  Be good to your tools!

Garden and Yard Rustfinder Extraordinaire!
http://www.papawswrench.com/vboard/index.php?topic=3717

Offline OilyRascal

  • Contributor
  • Hero Member
  • *****
  • Posts: 2282
    • Facebook Profile
Re: The Oily Shop Project
« Reply #280 on: December 23, 2012, 08:09:48 PM »
This found during cleanup; Lufkin No. 524 Folding Log Rule - Doyle Scale.  It was used by cruisers/scalers to determine footage of saw logs.  It features a folding end hook, graduated inches to 1/16 lower edge, outside markings for 10 and 18' logs, and inside markings for 12', 14', and 16' logs.

I suspect my grandfather had it to assist him in his sawmill work.  It is, apparently, still available for purchase today at ~$11 + shipping.

Merry Christmas!


"FORGED IN THE USA" myself.  Be good to your tools!

Garden and Yard Rustfinder Extraordinaire!
http://www.papawswrench.com/vboard/index.php?topic=3717

Offline john k

  • Contributor
  • Hero Member
  • ***
  • Posts: 2657
Re: The Oily Shop Project
« Reply #281 on: December 23, 2012, 10:18:18 PM »
That rule is pretty interesting, but never seen one up close.   Up in the logging country they seem more common.   Are you almost to the bottom of things yet?   Good to see the old stove lit up, how long has it been since it was hot?   Still heating with wood here in Nebraska, and was wishing my pile was bigger.  Merry Christmas
Member of PHARTS - Perfect Handle Admiration, Restoration and Torturing Society

Offline OilyRascal

  • Contributor
  • Hero Member
  • *****
  • Posts: 2282
    • Facebook Profile
Re: The Oily Shop Project
« Reply #282 on: December 24, 2012, 10:41:46 PM »
Are you almost to the bottom of things yet?   Good to see the old stove lit up, how long has it been since it was hot?

I'm getting closer.  Most "mechanical" tools I had gone through (e.g. sockets, wrenches, etc.).  I had placed many piles of "other" tools together (roughly sorted) that I knew I'd want to spend time on later.  I'm still sorting through those piles as time permits, cleaning, and making decisions.

The stove I had lit early this  year for just a bit, but quickly found where I had some work to do.  It was designed to burn oil as fuel.  I was very concerned about the proximity of the oil storage to the stove, so I removed the storage and tubing and brought the stove back to wood burning only.  Had to add a couple of dampers to help with air flow.  I believe there is still to much horizontal run relative to vertical in the exhaust ducting causing this locomotive effect with drafting with its super-hot.  I may have the cause here all wrong - but that's my thinking.

Merry Christmas!
"FORGED IN THE USA" myself.  Be good to your tools!

Garden and Yard Rustfinder Extraordinaire!
http://www.papawswrench.com/vboard/index.php?topic=3717

Offline OilyRascal

  • Contributor
  • Hero Member
  • *****
  • Posts: 2282
    • Facebook Profile
Re: The Oily Shop Project
« Reply #283 on: January 01, 2013, 02:53:54 PM »
Happy New Year! 

With the '65 kingpin bushing needing reamed as a backdrop - I decided I would bring out all of the taps, dies, cutter, reamers, easy-outs, etc. that I had found during cleanup.  They were scattered about in several boxes where I had collected them.  This is the first I've had them all together on the table to see what I actually have - and I still haven't figured out what I actually have.  I did find an adjustable reamer that would work in diameter, but it falls short of the length required to ensure both bushings are reamed in parallel.  Drawing board again.  About ready to eat $300 for K-D master king pin reamer set.

Back to what I do have.  I would like any comments/perspective you have regarding their cleaning.  I would imagine as much care as possible should be taken as not to further dull them.  I personally like the vinegar method to clean, as it gives me some level of control over the process and the end result is acceptable in most cases.  I'm just not clear if there is a risk of further damage in their cleaning (outside not wanting to put them in a box and shake them).

My apologies in advance for the poor quality pictures today.  It is cold, dark, and rainy here.

A broad view of the group
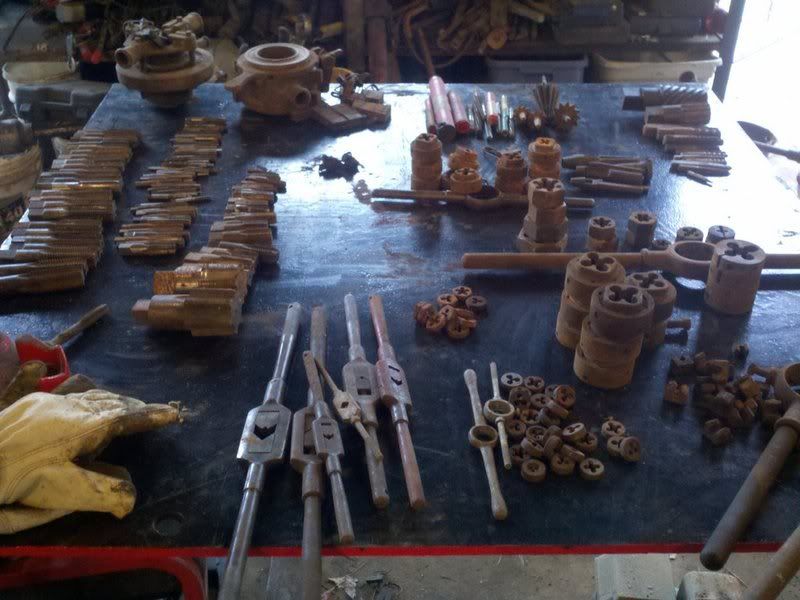


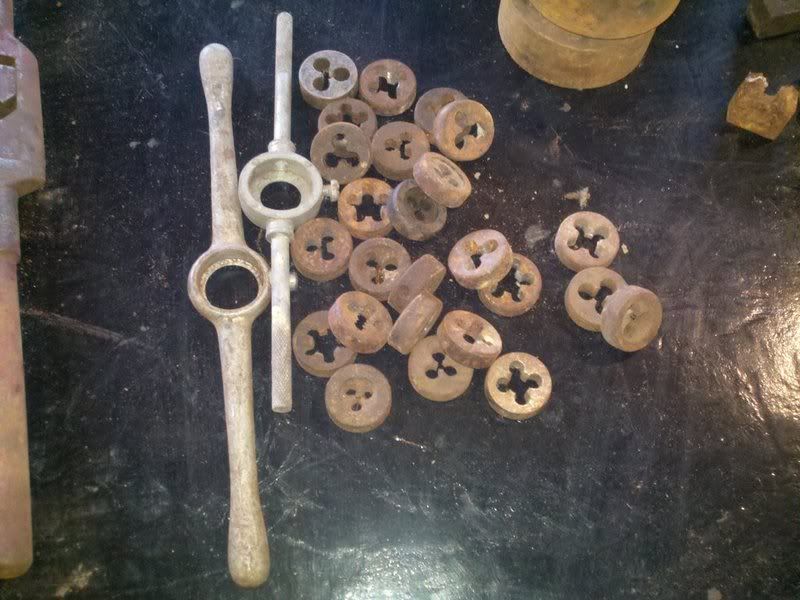
I have these grouped together because they are of the same size.  They are small diameter (neglected to measure).  I do think this may be the mixings of two sets.


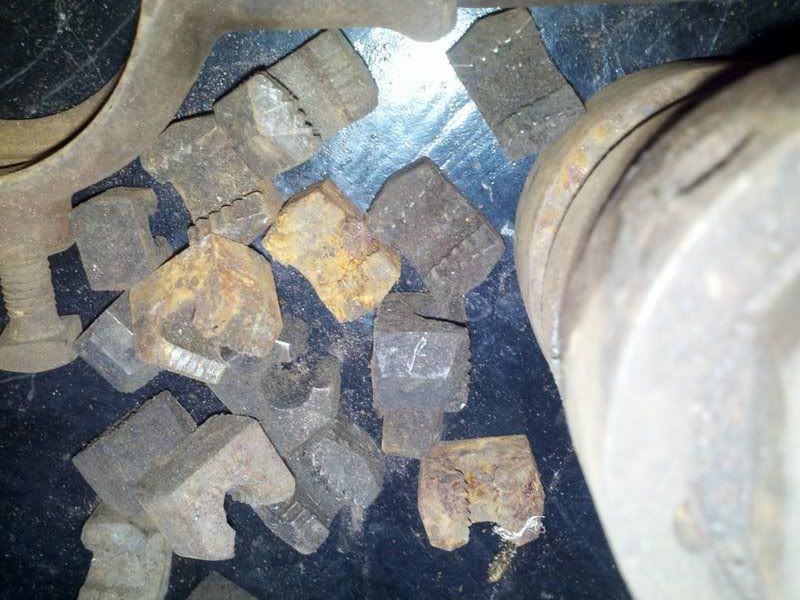
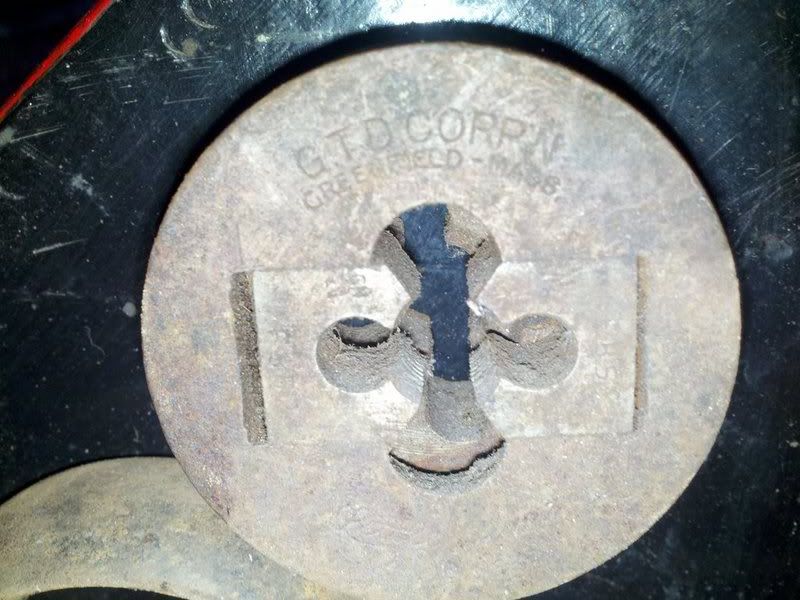
Just slightly larger (in the 2 to 2-1/4 range).  This type appears to be much different than the others I've seen or used.  There are teeth/cutter inserts that go in on the backside of the die.  Can anybody here further educate me on the why, what, how of this?
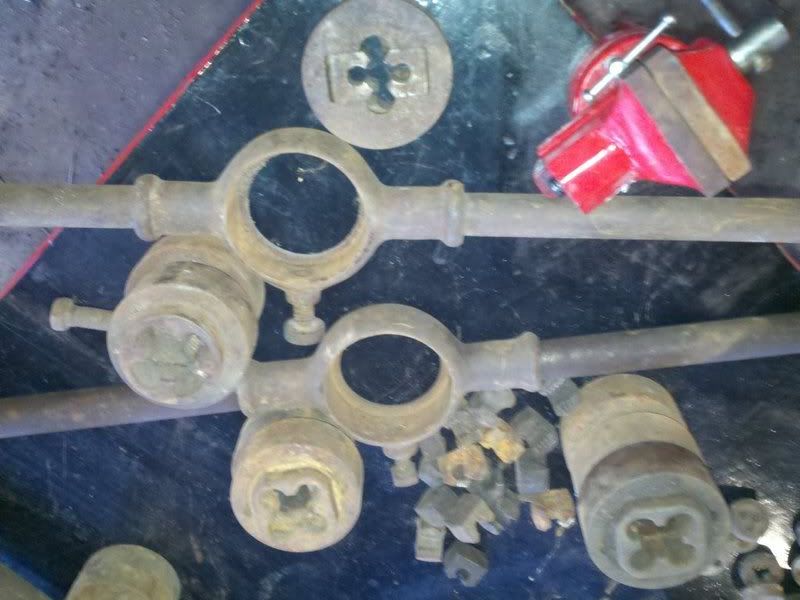


A view of some of these "inserts" I speak of:


and a view of the backside of the die with the inserts installed


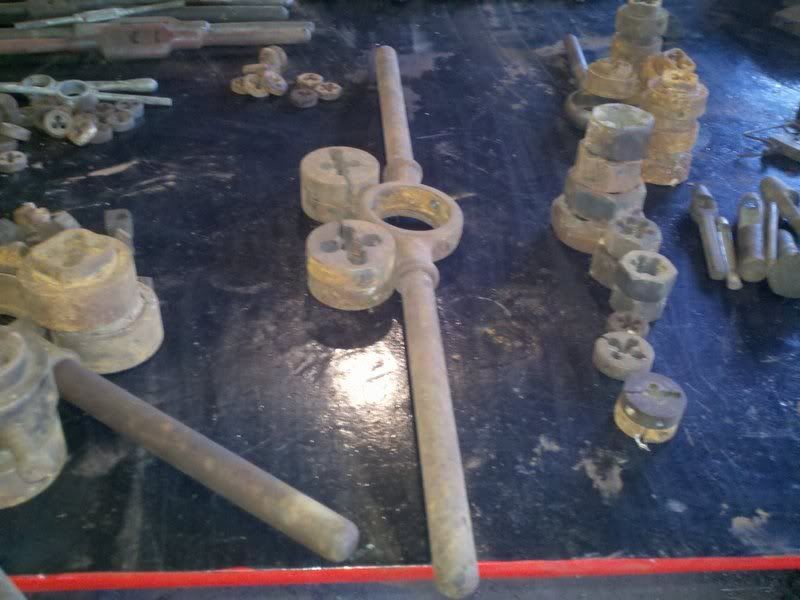
This style is ever so slightly larger than the previous, does not include the inserts on the backside of the die, and have a "split" in each of the dies - seemingly by design.  Again, I'd appreciate any education that may be afforded here.


an up-close view of the split


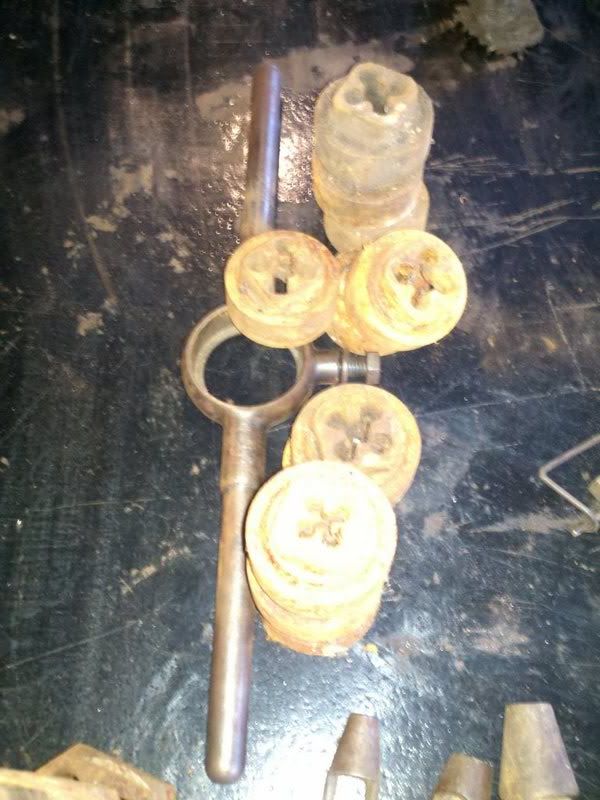
This set larger in diameter than the last - likely closer to 2-1/2"


The orphans - I have no idea what this hex shaped die may fit.  I have them stacked by size, and as you can see there are various sizes.


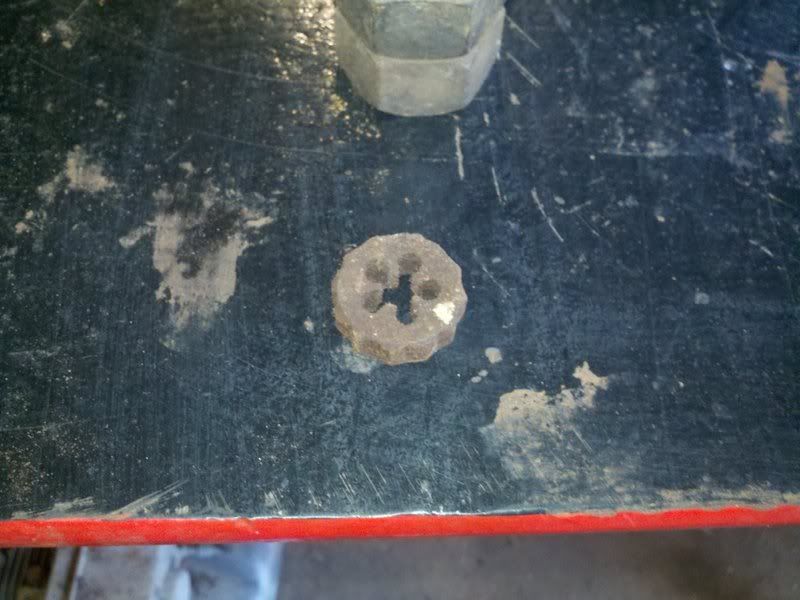
And then there is THIS GUY!  Strangest die I've seen.  It was all alone, with nothing apparent to match.


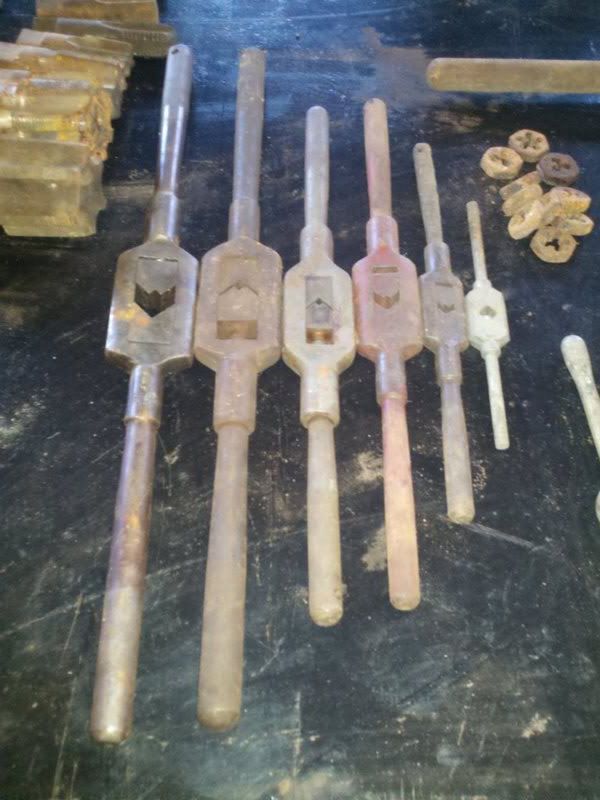
A view of the tap holders/wrenches


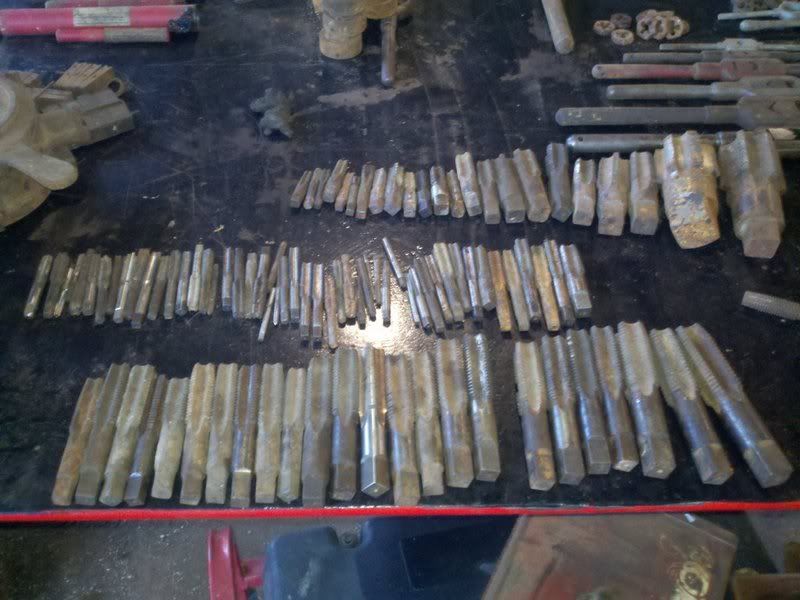
The tap collection.  I'm finding mostly GTD (EDIT:  Greenfield Tap & Die?) out of Greenfield Mass.  Still researching.  I've realized I need to better understand taps, which are used for what, why they are so variant in length.


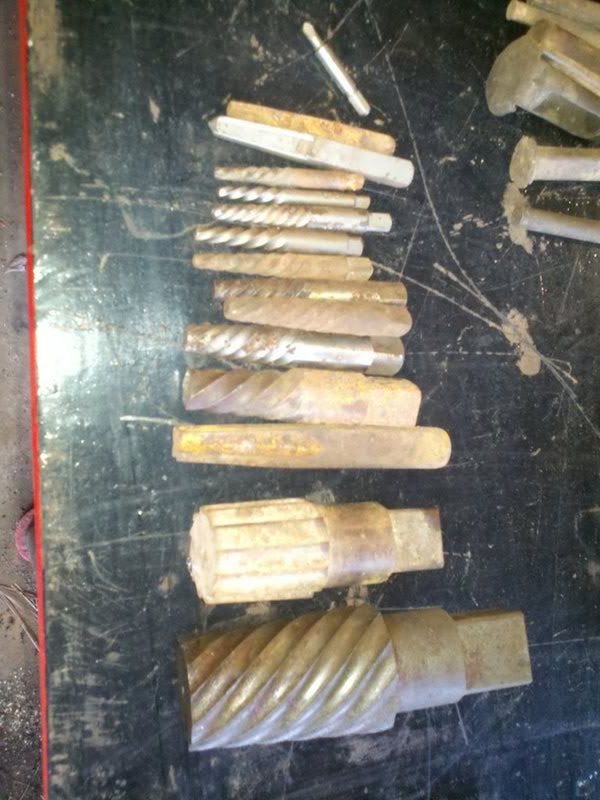
I think/hope its fair to call these all reamers
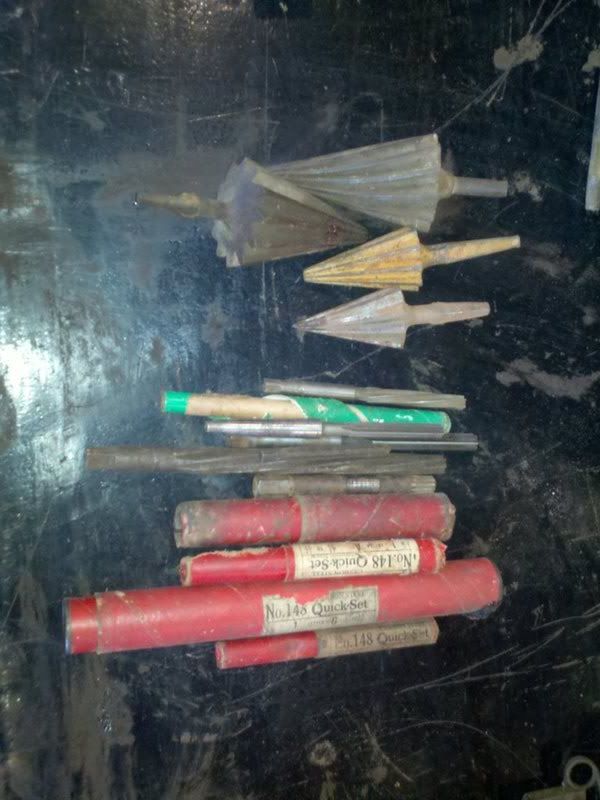


We call them "Easy Outs" - I suppose technically they're extractors.  I'm not real clear on the 2nd from the right.  It may well be a reamer.


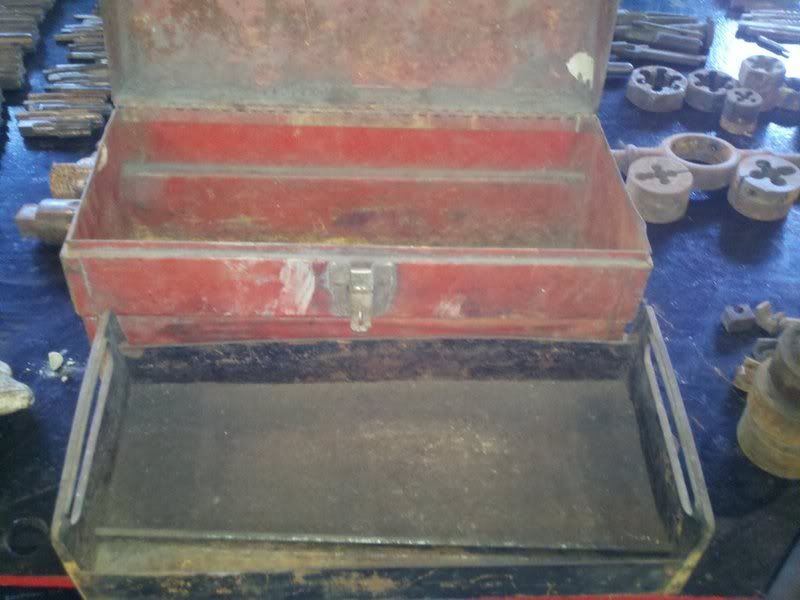
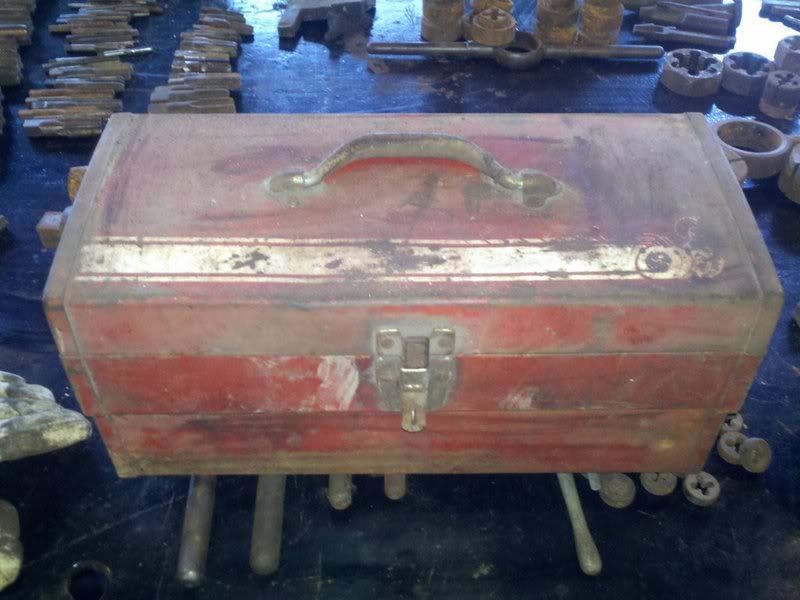
This is a box I found a few of the taps/dies inside.  I don't recognize it, can't find a makers mark outside the graphic which is mostly gone, and not having luck in my quick research.  I'd be interested to know if anybody recognizes it.


« Last Edit: January 01, 2013, 02:57:52 PM by OilyRascal »
"FORGED IN THE USA" myself.  Be good to your tools!

Garden and Yard Rustfinder Extraordinaire!
http://www.papawswrench.com/vboard/index.php?topic=3717

Offline john k

  • Contributor
  • Hero Member
  • ***
  • Posts: 2657
Re: The Oily Shop Project
« Reply #284 on: January 01, 2013, 03:10:43 PM »
I've only got some user knowledge, and will gladly let someone set me straight.    Taps come in 3 types.  Starting taps, which are very tapered on the end.  Bottoming taps that had the same size threads to the end.   And Combo taps, that give you a bit of both worlds.  Starting taps are made like that to help get started in the hole straight.  The bottoming taps were used after the starting tap to cut threads clear to the bottom of a blind hole.  The die inserts, the individual pieces, started out with something called a screw plate.   A stack of these pieces in a slot, in a plate, with two handles,  back when blacksmiths cut their own threads, nuts and bolts.  Also the same size thread count insert could be used in cutting threads on a rod 3/16, 1/4, 5/16 and so on.   Just have to be careful not to overly reduce the size, or the nut will be loose.   That is some collection.   Have you thought about using electrolysis to remove the rust?
Member of PHARTS - Perfect Handle Admiration, Restoration and Torturing Society